A look behind the making of a “mashup.”
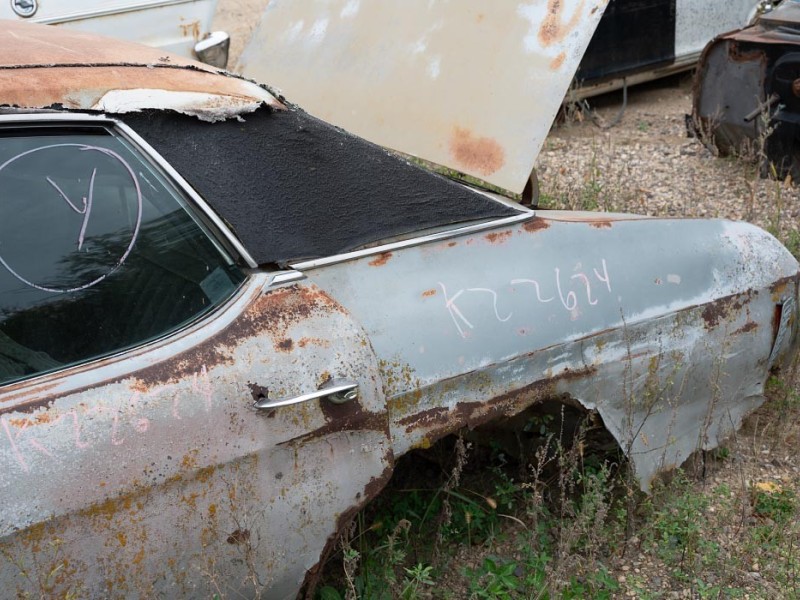
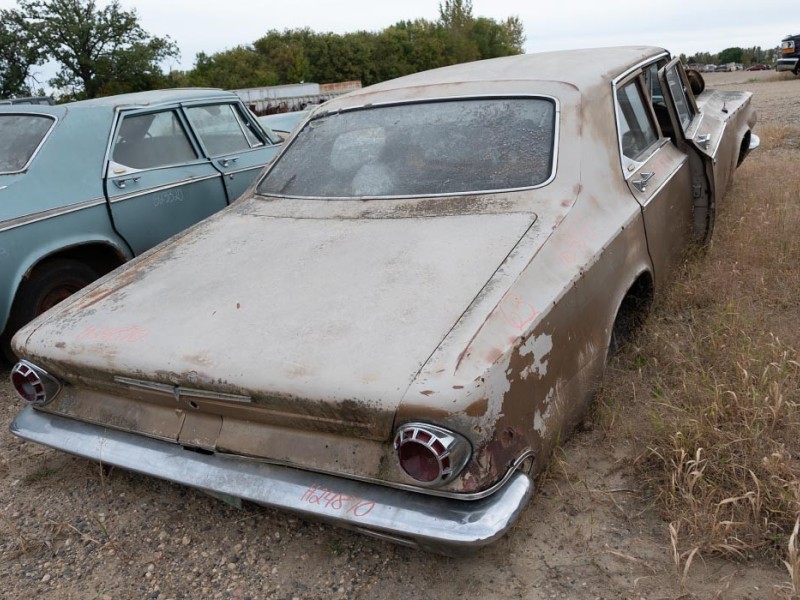
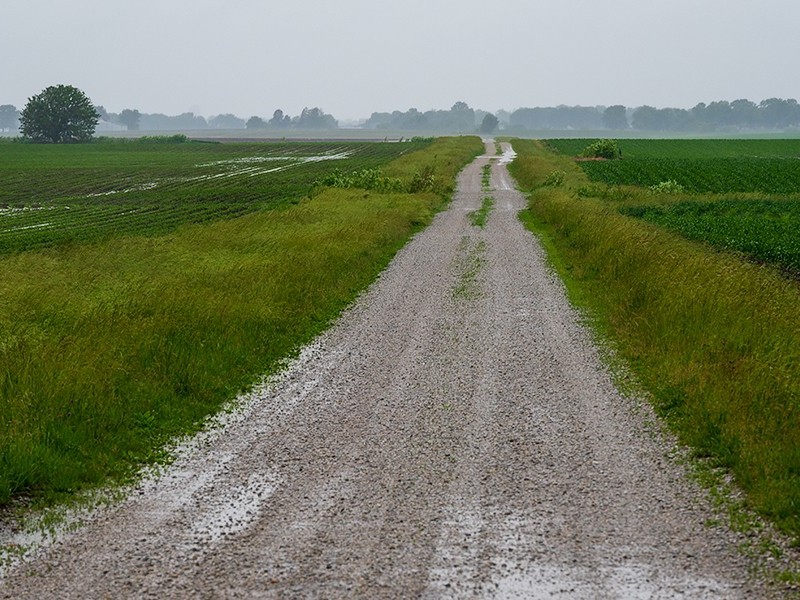
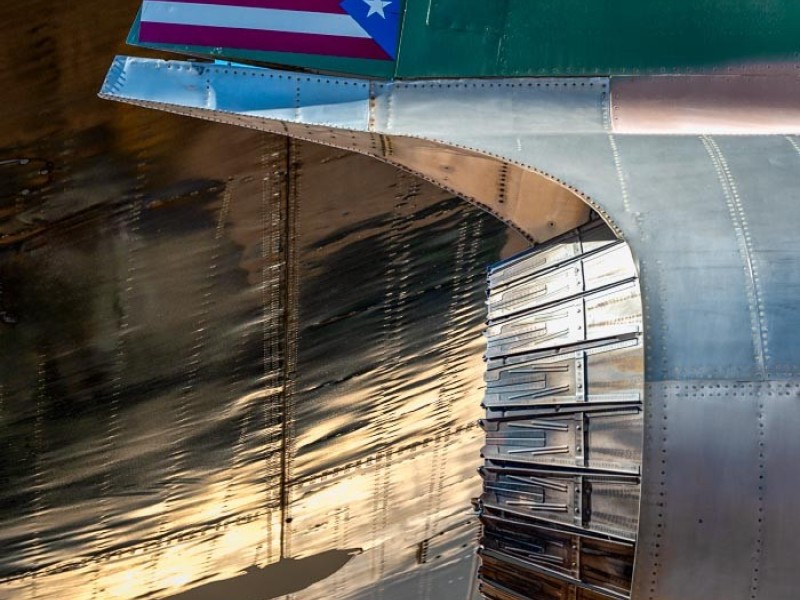
According to the Cambridge Dictionary, a mashup is a "type of recorded music or video that consists of parts of different songs or images that have been combined." Thus, it's an apt name for my digital artworks that combine two or more images together using layer blending features in photo editing software. Photos are used as source images but the resulting works may fit better under a "digital art" category. As such, mashups provide a more direct and engaging way of exploring boundaries between photography and painting, and working towards a visual style that is more uniquely my own. Success lies in finding images that work well together and applying an effective combination of blending effects.
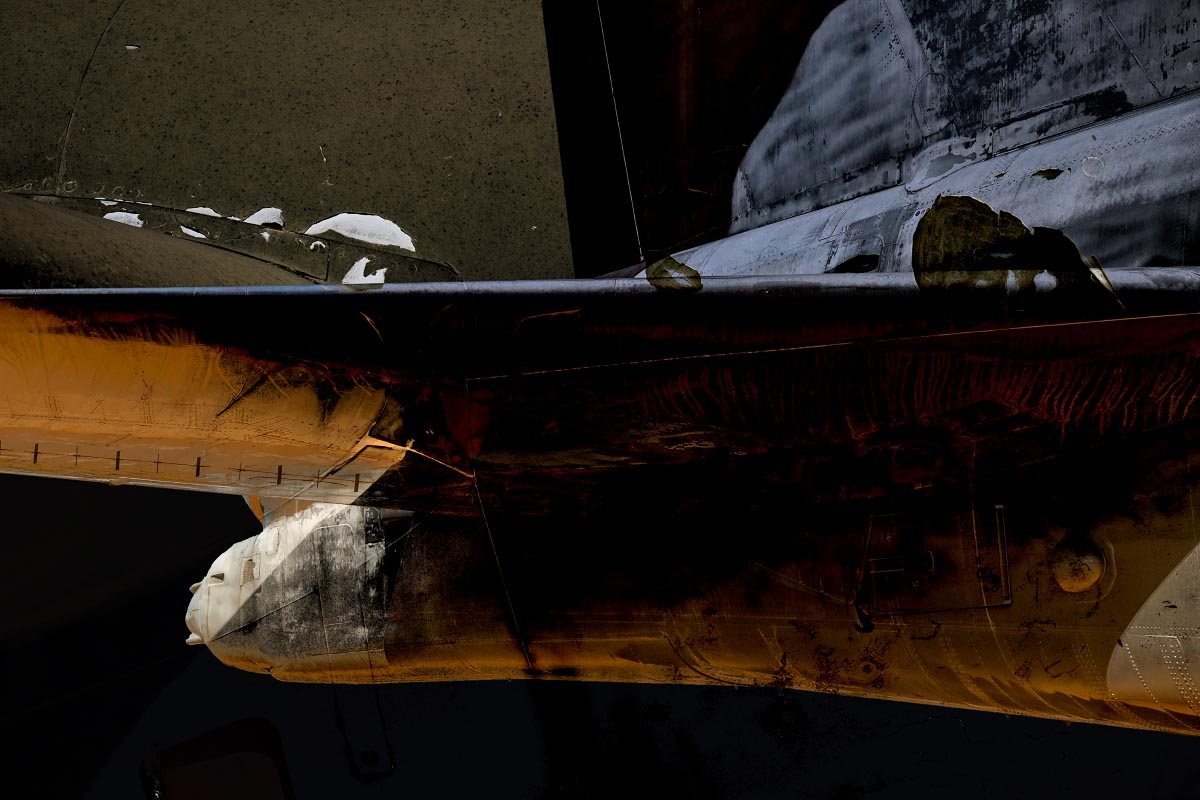
To provide insight into how a mashup is made, I'll use an image from the series A Higher Plane, shown in final form below. This a fairly simple, straightforward example that includes both types of layer effects that I utilize.
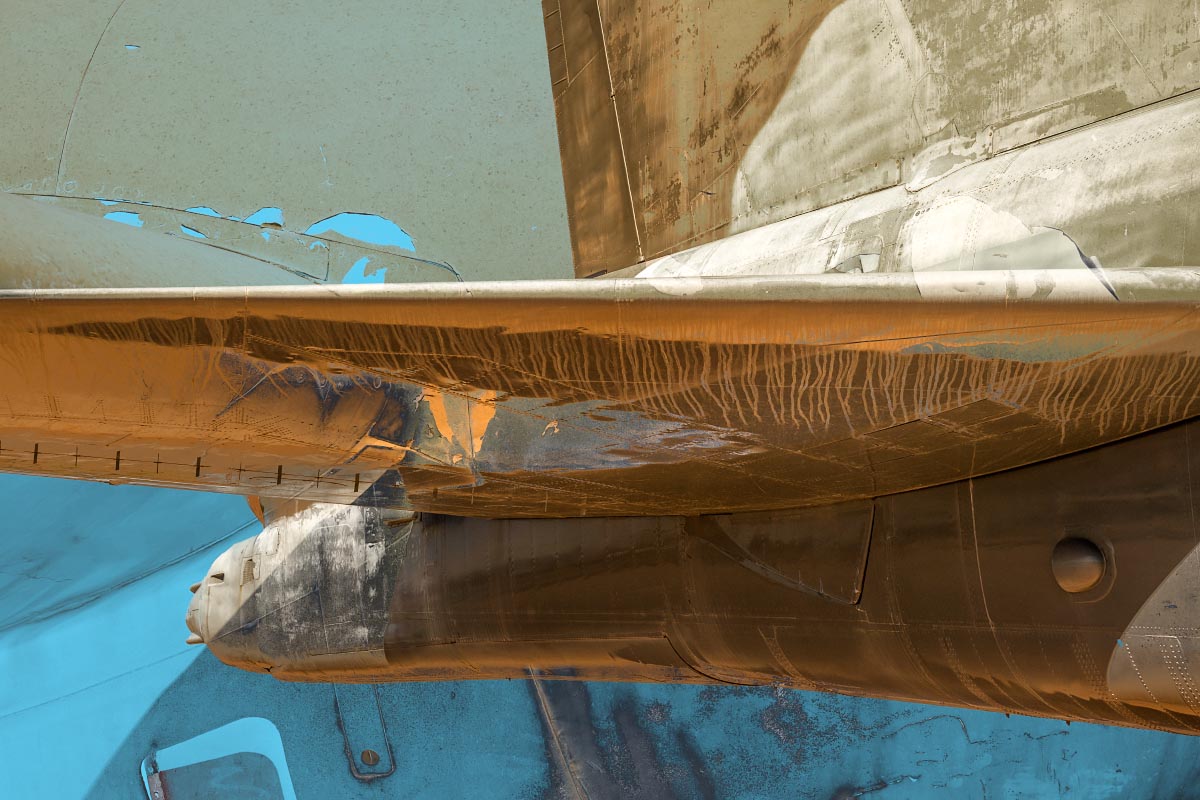
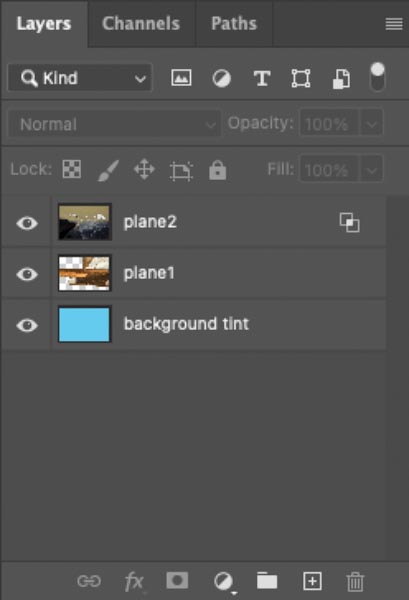
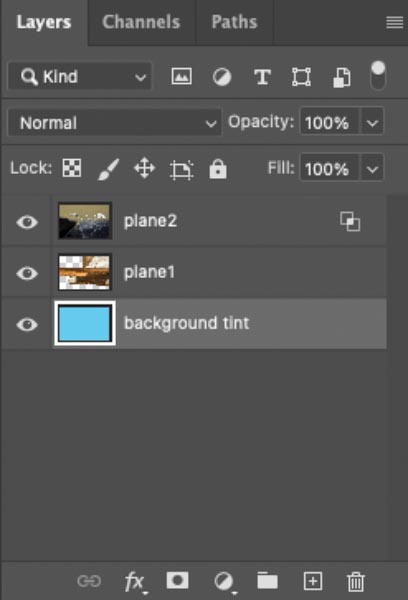
Below is a screen shot of the Layers palette in Adobe Photoshop for the completed image.
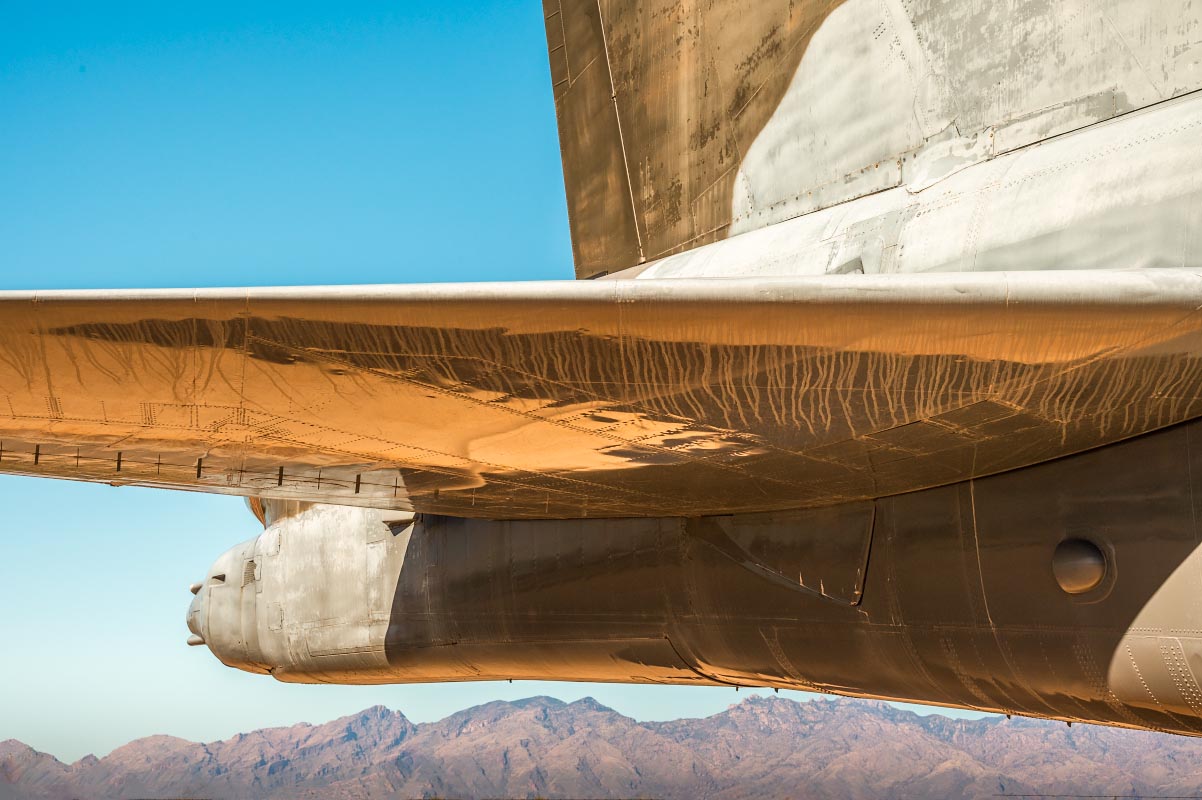
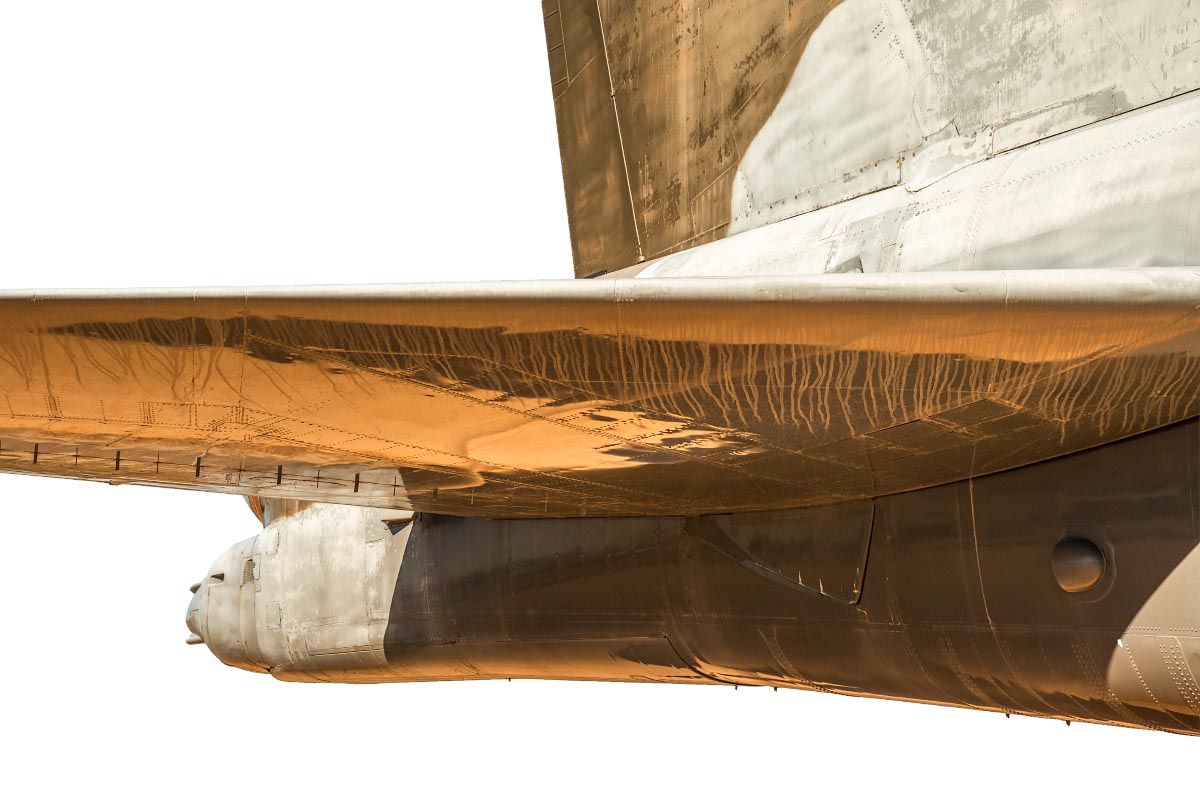
For the plane 1 layer, the original source image is shown directly below. The background is then removed to produce the second version. This will allow the background tint layer, to be added at the end of the process, to pass through.
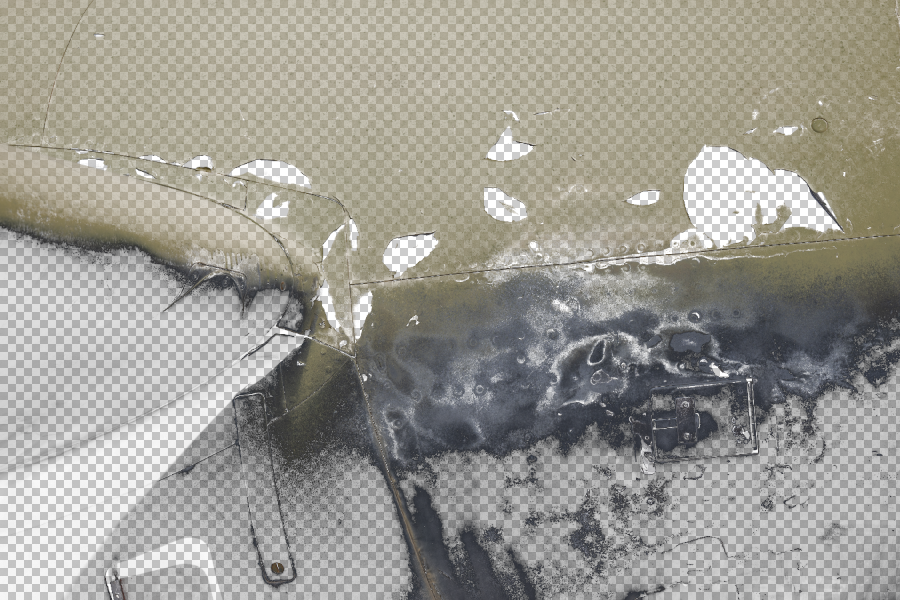
The second source image is then brought in on the plane 2 layer. The image is shown directly below, followed by a progress shot of the Layers palette after a change is applied to the layer's blend mode, indicated by the red outline.
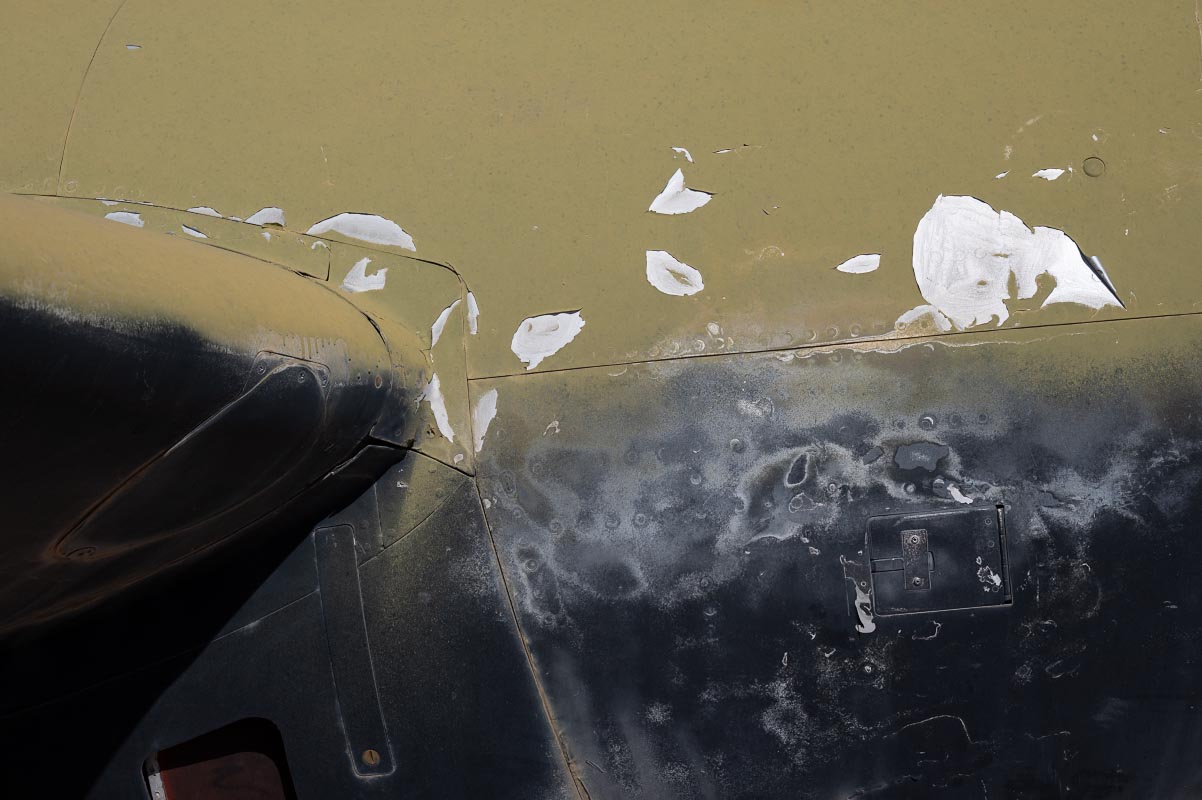
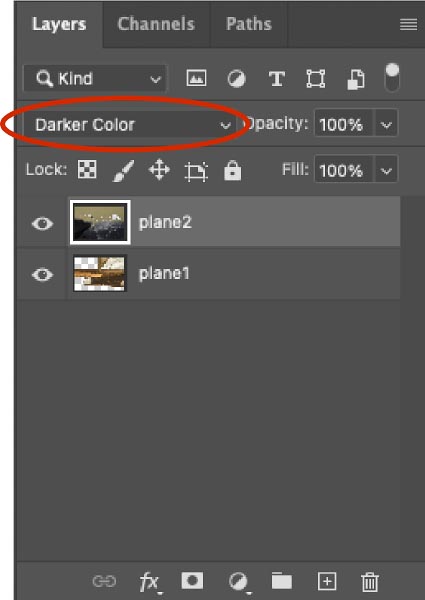
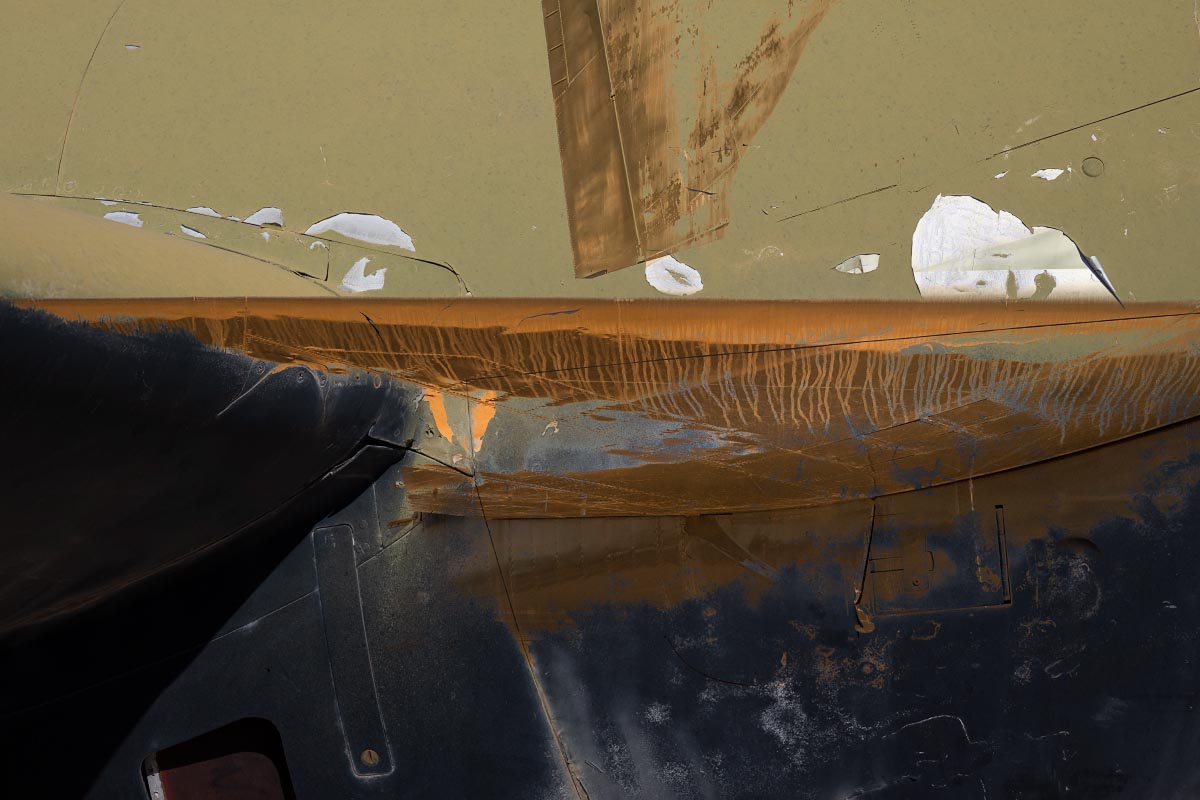
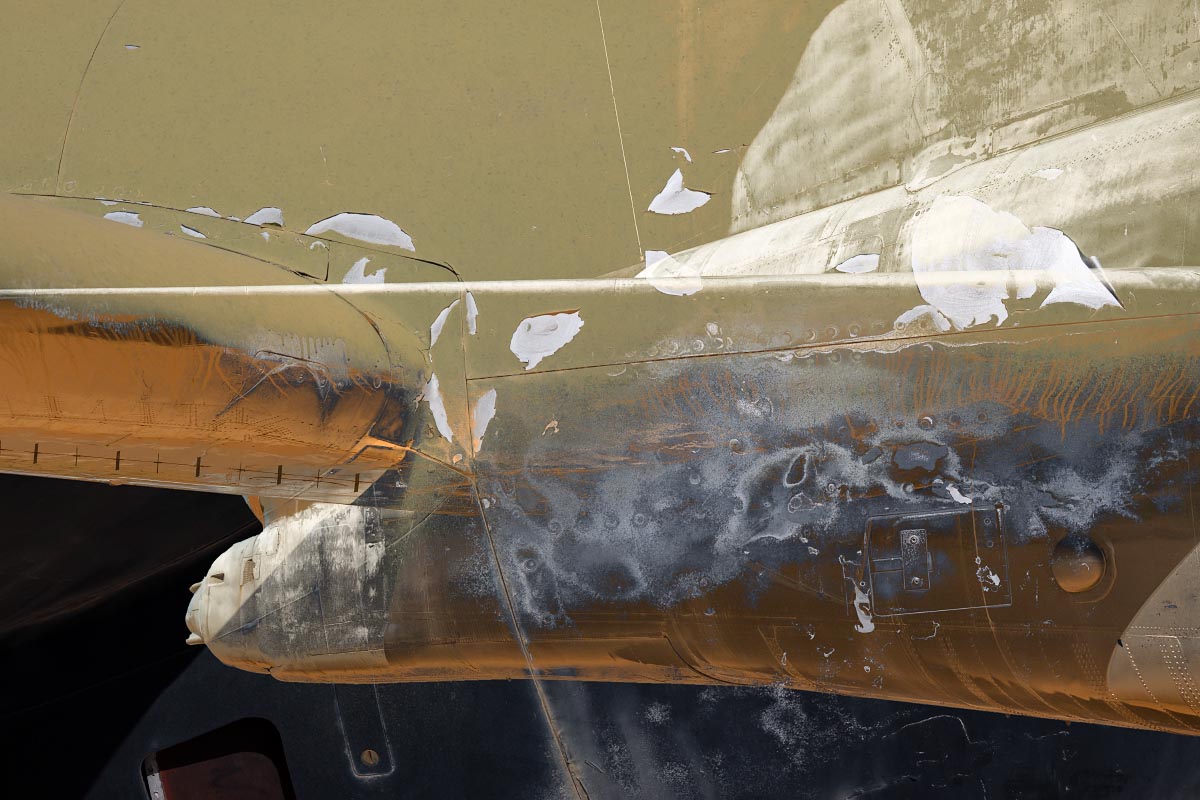
Photoshop has over 20 blend modes which can be applied "non-destructively." This means the visual effect is created without no physical "damage" to the layers that reside below. Blend modes are grouped by the effect they have, from darkening and lightening, to modifying contrast and saturation. Three examples using our two layers are shown below. The first is the result of applying the Darker Color mode to the plane 2 layer, which is the one actually used. For demonstration purposes, examples with the Lighter Color and Subtract modes applied are also provided.
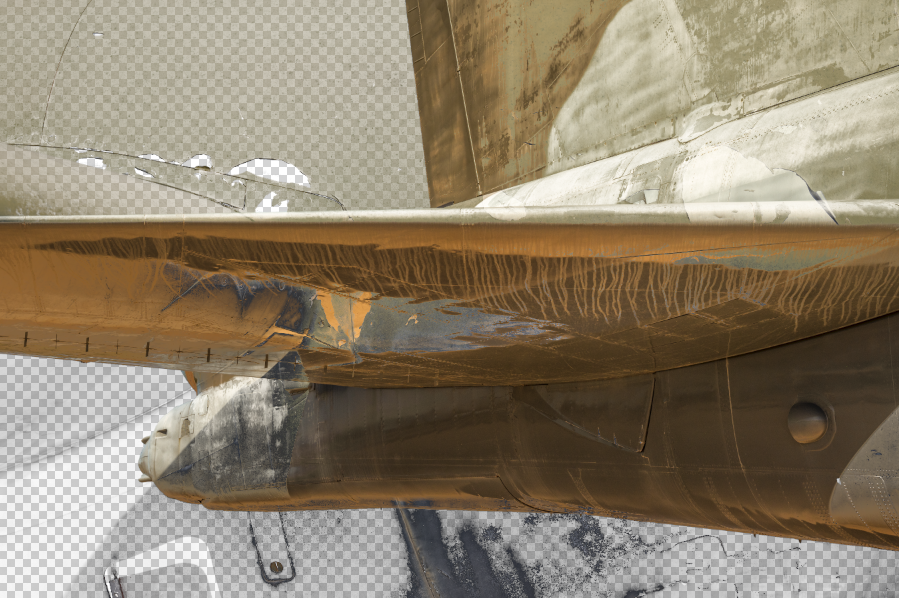
The plane 2 layer needs an additional edit to make selected parts of the image transparent, in order to achieve the final effect. One way to try would be decreasing the value shown in the Opacity field within the Layers palette. The drawback is that this affects the entire layer. A second more refined method that provides greater control is Blend If, which effectively masks out part of a layer based on the luminosity of pixels.
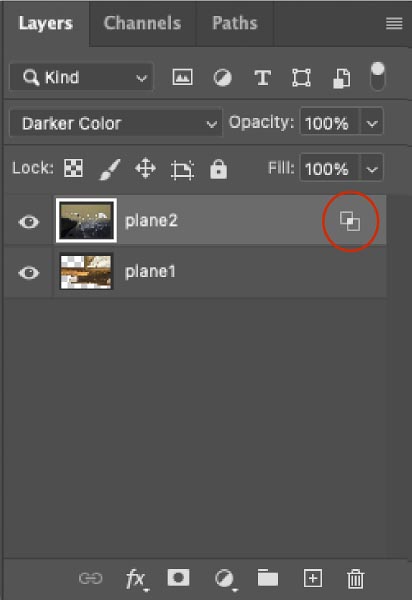
Double-clicking to the right of the thumbnail image in the plane 2 layer brings up the Layer Style palette:
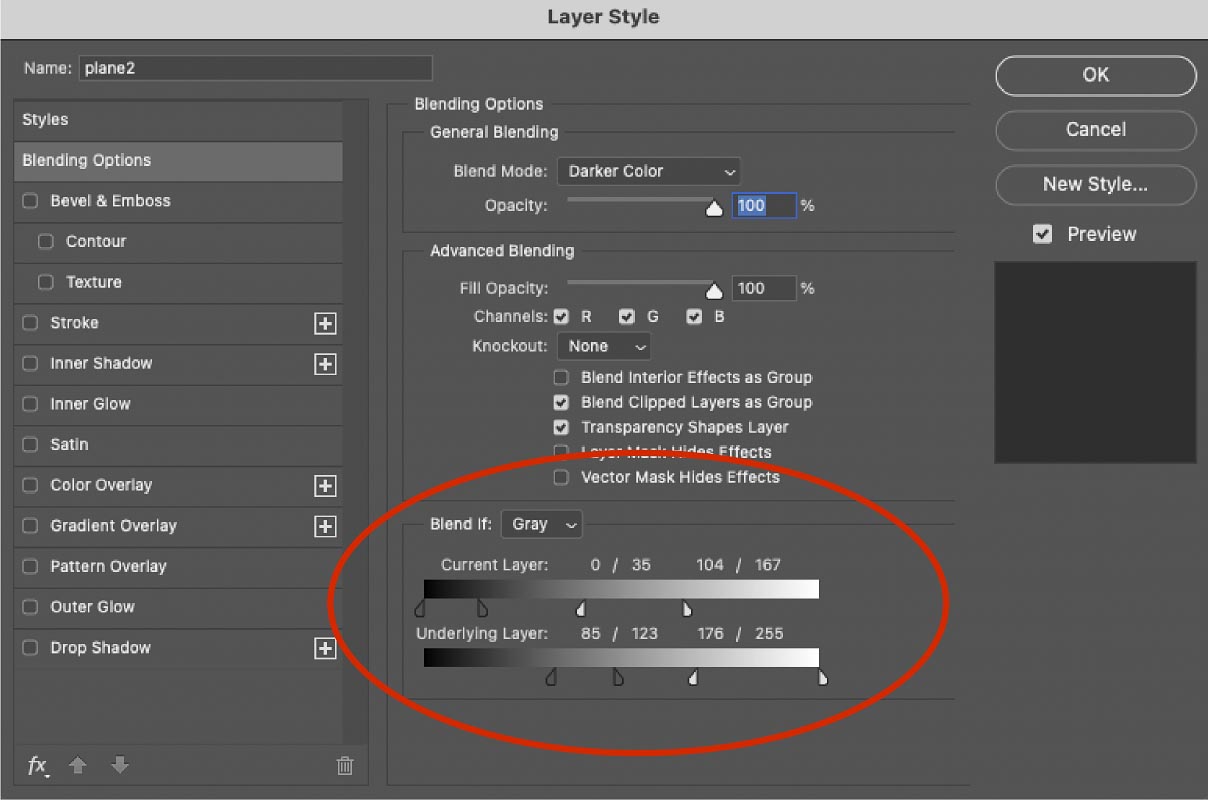
The Blend If area within this palette is indicated by the red outline above. The two sets of sliders within this area, indicated by the dark gray and white triangles, are adjusted until a desired effect is achieved. In order to move the triangles independently, the Alt key (Alt on Mac, Option key for Windows) must be held down before moving. The effect this has on our pPlane 2 layer is shown below, with transparent and semi-transparent areas indicated by a gray checkerboard pattern.
After the style is applied, a double-rectangle icon is displayed within the plane 2 layer to indicate the change, called out by the red outline below. This is also a non-destructive effect that can be further edited at any time by double-clicking the icon to re-open the Layer Style palette.
The new combined effect on our two layers, with both the blend mode and Blend If style changes applied, is shown below:
To complete this mashup, a solid aqua color background is added as the new bottom (first) layer. The final image and final state of the Layers palette are shown again below.

As mentioned, this is a fairly straightfoward example. Some mashups can get more complex with several additional layers and adjustments, depending on the desired effect. But it's a fun and creative process regardless of how long it takes to come up with a satisfying result.
Tagged
You might also like
-
Shop Talk: Muscle and Memory
- Written by bsullan
- Published on
-
Shop Talk: Understated Elegance
- Written by bsullan
- Published on
-
2024 Year-in-Review
- Written by bsullan
- Published on
-
2025 Year-in-Review
- Written by bsullan
- Published on
-
Triple Threat Jet
- Written by Brian Sullan
- Published on


